A few months ago, I decided to trial out a new technique to help children enjoy learning and using their sight words. It’s called Hide & Seek Sight Words. I have made the first 25 Fry Sight Words so far. A lot of my students love to do find-a-words in class. I found that their passion for these types of puzzles rang a few bells for me. Why not create a way where they could ‘hide’ their words and have their partners ‘find’ the words! At first – thought it might be difficult with younger students but I found that they LOVED it and got the hang of it quite easily. The best part about this technique is that we target their spelling, writing and sight word fluency skills. PERFECT!
Stay tuned, the freebie is at the bottom of this post so you could try it out with your students too and see how they respond to it! 🙂
So anyway, here is how I began this technique, I first printed out the sight words needed and cut each piece of paper in half (this was before the students filled in their letters – I was just too slow to take the pic for that step haha):
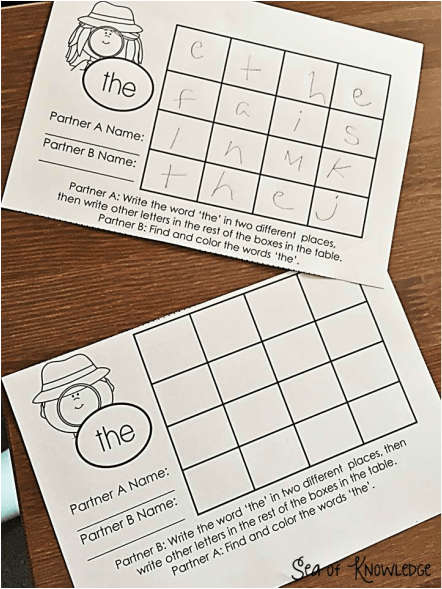
The next step is to guide the students and tell them that they can’t let their partner see their sheets! This is very important, explain that they will lose the game if they let their partners see where they are writing in all the words! Tell them they can write their words accross, down or diagonally ( I wouldn’t go diagonally with Kindergarten students or they could get confused!).

Then, tell the students that they will swap their sheets with their partners and the partner gets to find all the words and color in the boxes. FUN! My students love these – you could hand them out for homework or early finishers, or even as morning work.

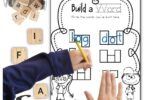
Here is another way to use these hide & seek sight words. If your students are new to the whole idea, you could use this technique with them (this is also included in the pack). The letters are included on the sight of the worksheet and they cut and paste them in the table – also using the same rules accross, down or diagonally.

Here is what it’ll look like when complete (note: as an added activity, you could get the students to paste these into their notebooks for future review visual):

Try it out with your students using the sample pages provided in this download here and come back to let me know how it worked out! 🙂
Thank you for reading, I have to gotta get back to Saturday domestic chores now. Ugh, when does it end!? 🙂