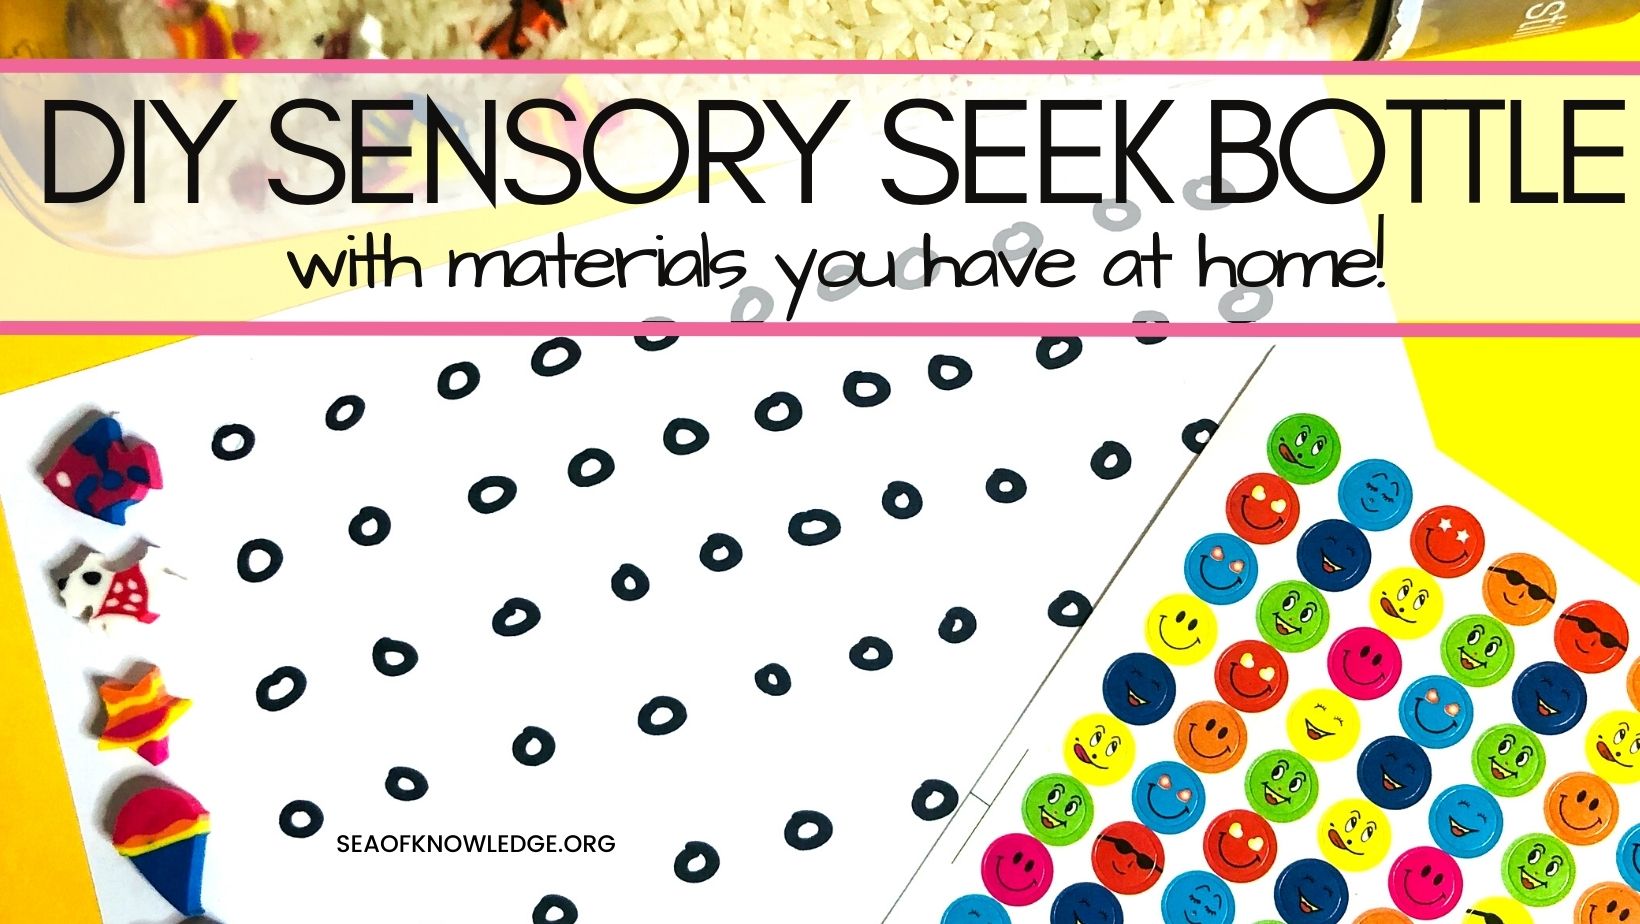
Super Easy DIY Sensory Bottles Seek and Find
Want to learn to make an interactive and fun homemade DIY sensory bottles? One thing I love about sensory activities is that you can use materials you have on hand at home!
How hard is it to make DIY Sensory Bottles?
I honestly do not think these bottles are hard, they aren’t even time consuming! You will just need the materials below to get started, and once you have these materials, you’re ready to make your bottle!
What I love about these DIY sensory bottles is that they contain materials inside where you want kids to hunt for.
I didn’t want to only make one full of rice where kids would shake the bottle, and that’s the end of the game? Heck no.
Let’s make it a little challenge for kids. So I added little mini erasers. You could definitely use any you have on hand for this, varied pieces of course, to have kids find and circle or dot.
This activity works best for toddlers and three year old just learning to use their visual discrimination skills to locate similar and different pieces.
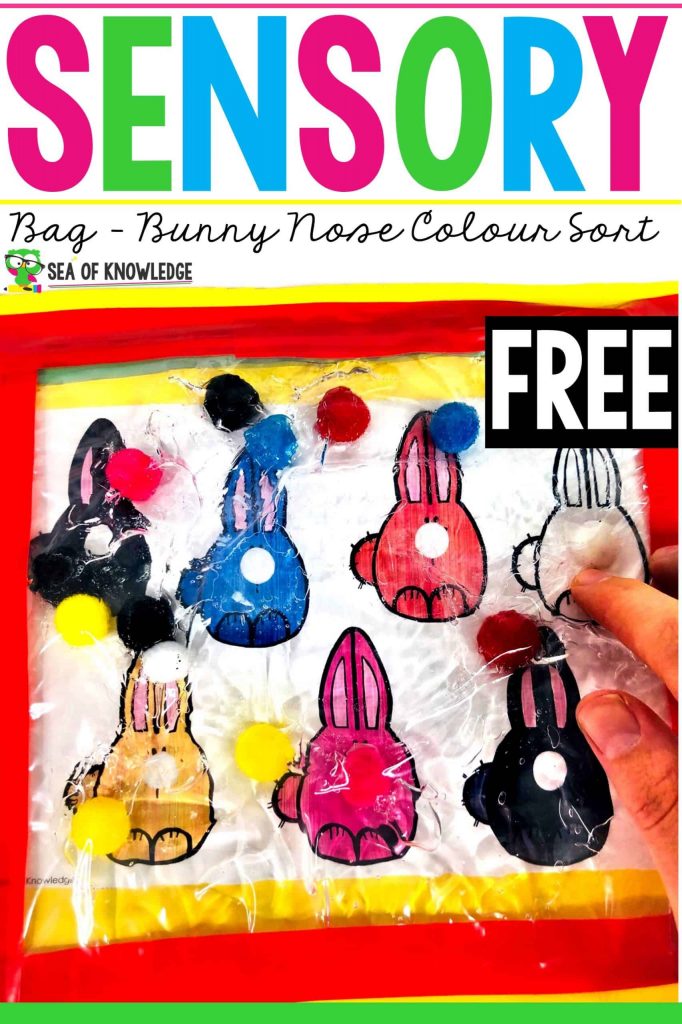
Find out how you can make a super cute sensory bag with this bunny template.
Why are Sensory Bottles an important learning tool for toddlers?
The sensory bottles are filled with various items such as rice, beans, spices, and glitter. The child can explore the contents of the bottle by shaking it and feeling the different textures.
This is a great way to introduce toddlers to new textures and substances without having to taste them.
Sensory bottles are a great way to introduce toddlers to the world of science. They help with motor skills, hand-eye coordination and creativity.
Sensory bottles are a great way to stimulate children’s senses and develop their cognitive skills.
The sensory bottles typically consist of water, food coloring, and glitter. These materials are chosen because they provide visual stimulation, tactile stimulation, and auditory stimulation.
Materials for Sensory Bottles
What better way to recycle materials. Also let’s face it, we probably look like crazies trying to save toilet paper rolls, am I right?
Once people see why I actually do this, they really seem to be fascinated by it. I’ll tell you these sensory bottles I made were a huge hit with my kids and my students alike.
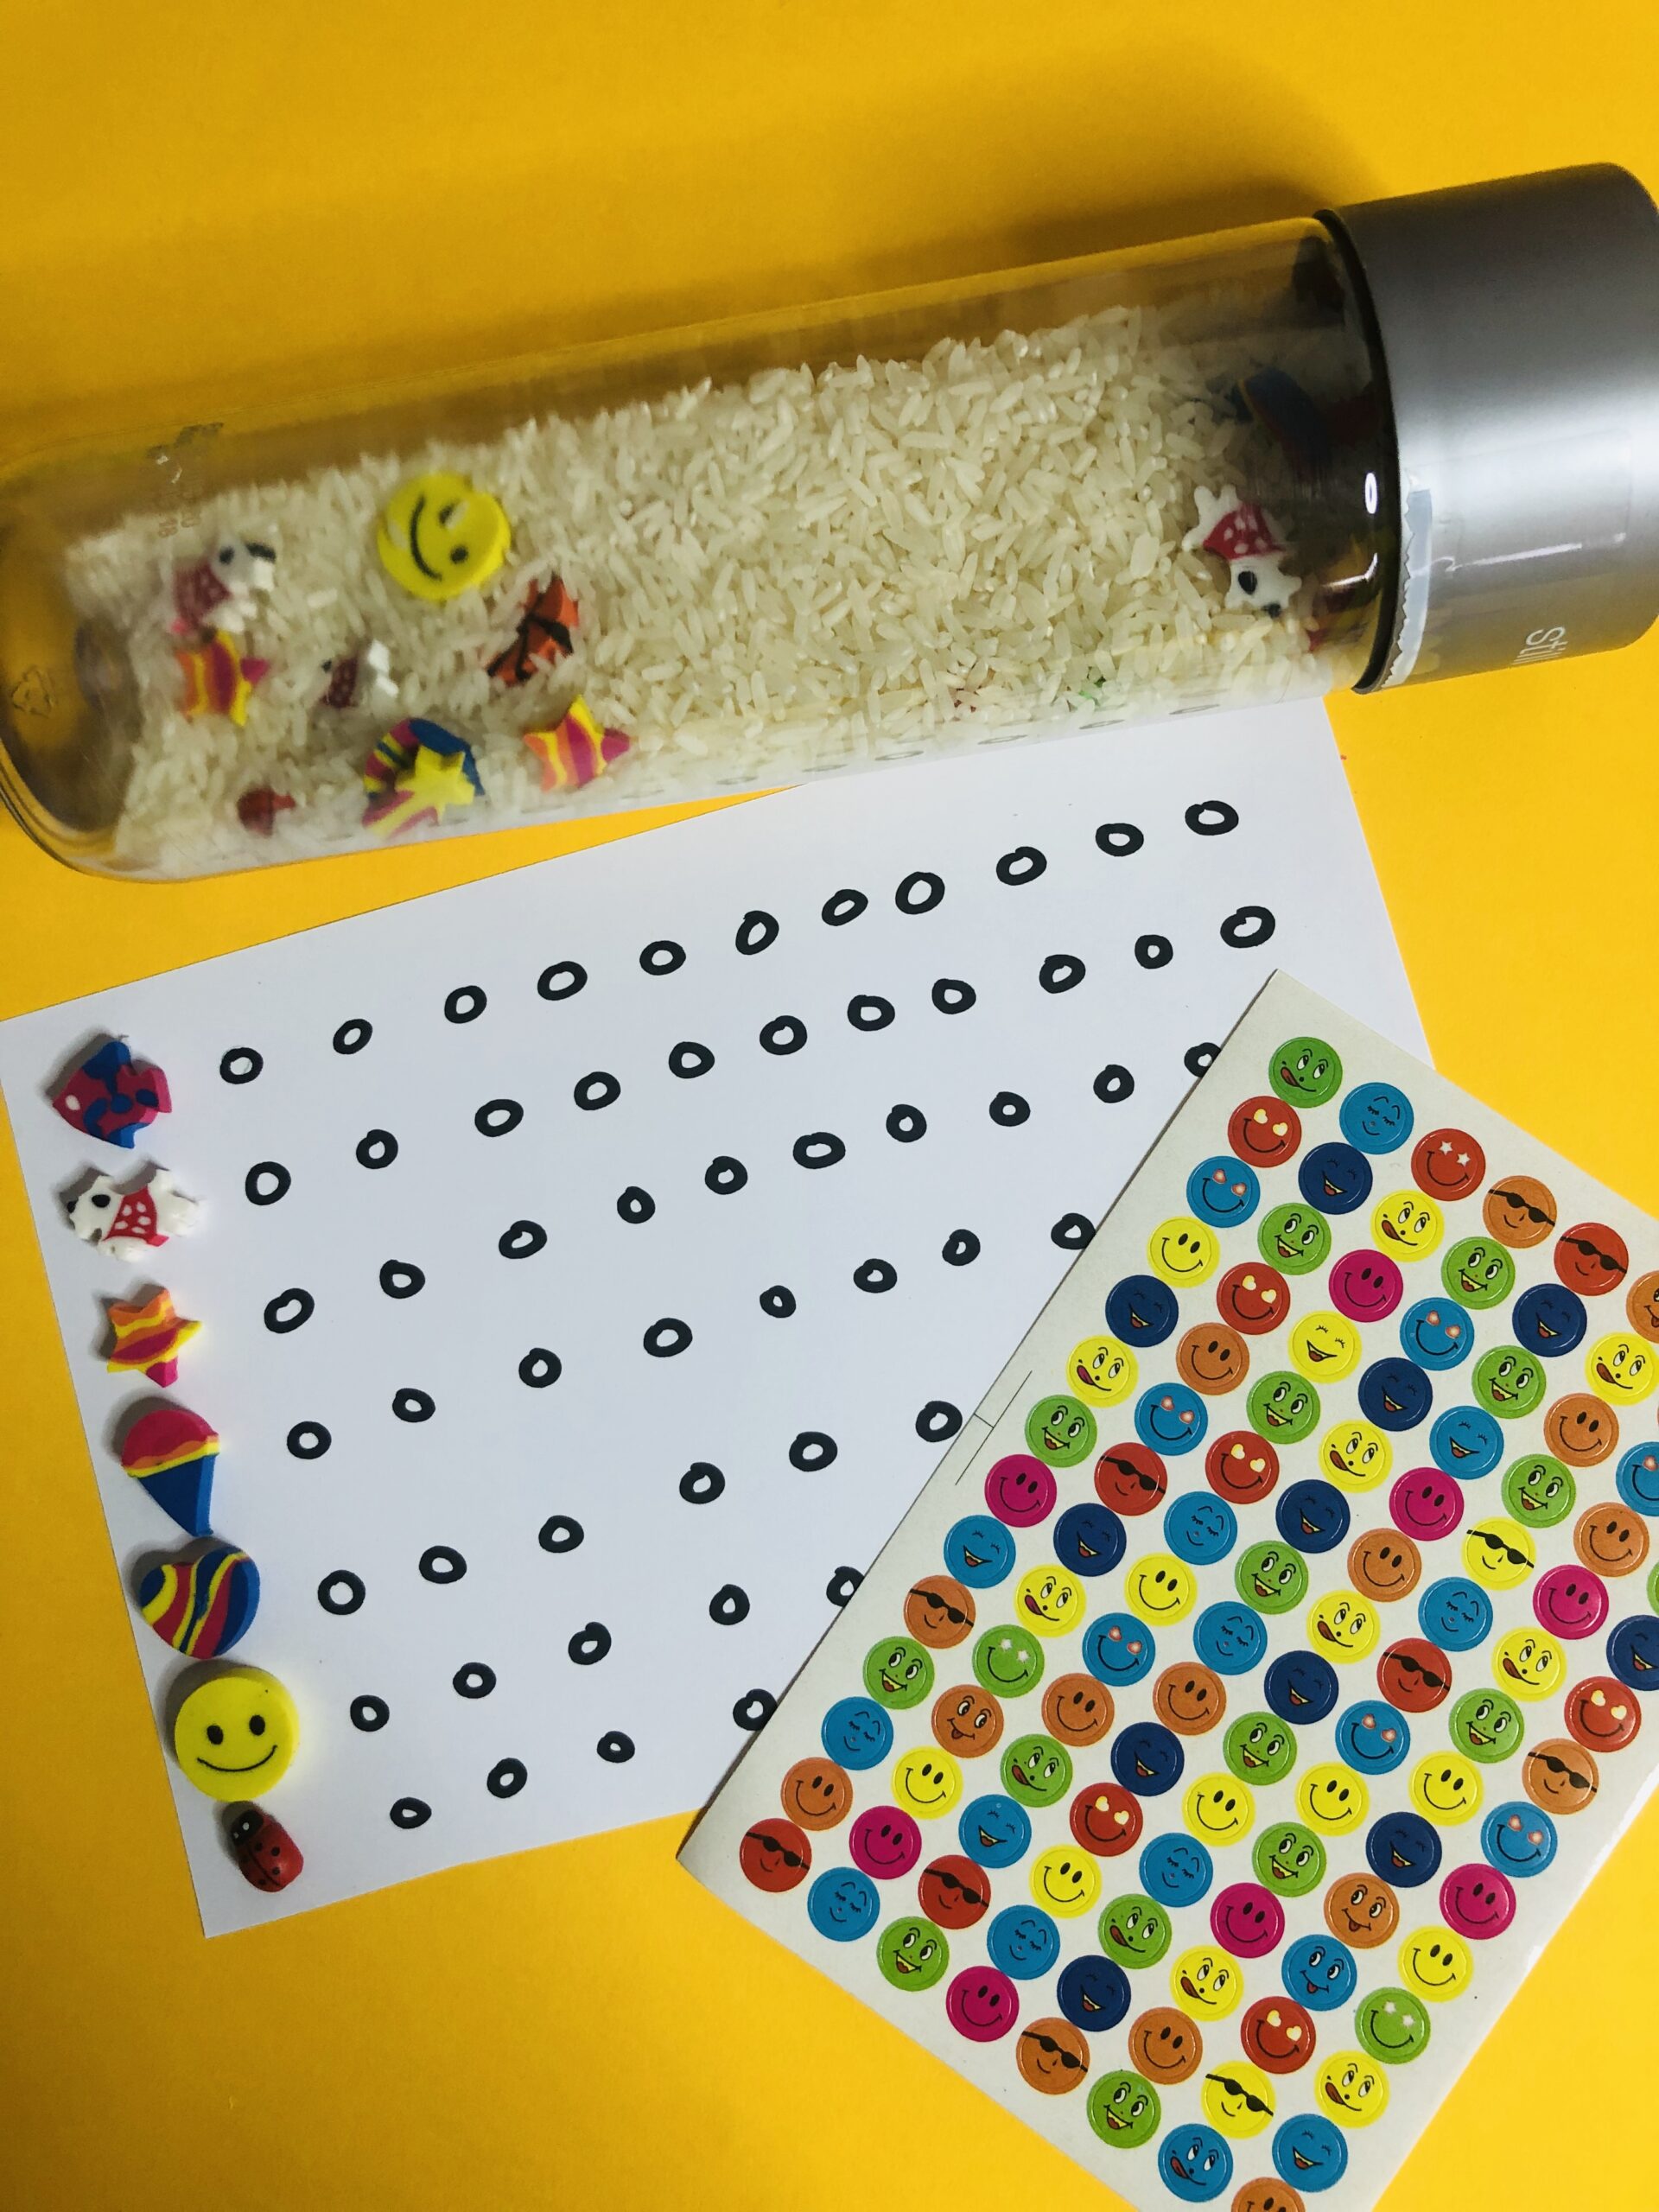
The materials I used to make this hide and seek sensory bottle:
- Plastic VOSS water bottles (these are by far THE BEST bottles to use for sensory materials inside). You could also glue the bottle cap shut so that toddlers and kids can’t open it.
- Mini erasers in bulk (I used these because I was working on kids identifying and differentiating between objects). You ca definitely use themed ones or even mini alphabet erasers or magnets for alphabet practice.
- You can use these plastic alphabet tiles to make this DIY sensory bottle a learning tool.
- You will also need glue to stick the mini erasers onto the poster paper and glue the bottle shut.
- Plain rice (the white kind) – I used simple long grain rice, the cheapest bag I could find. I didn’t dye the rice any other color for the reason below.
- Plain mood or dot stickers that you can use to get the kids identifying the times they see that particular item in the bottle.
So, if you wanted to color the rice, feel free to do so, but I wanted to make it simple for the kids to differentiate and find the colored mini erasers. If you color the rice, they won’t be able to make out where the mini erasers and items are.
I always like to include Calming Sensory Bottle ideas into my learning plans, especially for younger kids.

Be sure not to dye the rice in this particular sensory water bottle, because you would want the kids to differentiate the items inside to work on visual discrimination skills.
How to make a sensory bottle step by step
Step 1: make sure that you have all your materials ready. Add 1 cup of rice into the bottle.
Step 2: prepare the mini erasers you will use inside the bottle (one of each kind). Add at least 5 items, but you can add as many as you like. Make sure you have at least 1 of each kind (the same eraser) to glue it later on the paper.
Step 3: seal the water bottle with glue.
Step 4: grab a piece of paper (or thick cardboard), and glue the mini erasers in a column like shape. Add a dot next to each shape to have the kids add a sticker once they find that same mini eraser inside the bottle.
I love DIY sensory bottle ideas, I am positive you will also love this one.
How to play with this sensory bottle:
After sealing the bottle shut, the child will pick up the bottle, shake it and then look into the bottle.
They will identify the mini eraser that is inside the bottle (the one they saw) with the one on the paper. Then, they will add a dot sticker next to it.
Related: Chicka Chicka DIY Alphabet Sensory Bottle Super Simple to Make!
They continue this until they cover most of the items on the paper.
Why are sensory activities important?
Sensory activities are a great way to engage and stimulate our toddlers. Not only do they help them learn about their environment and the things around them, but they also help develop their cognitive skills.
There are many sensory activities that we can provide to our kids in order to keep them engaged and stimulated. Some examples of sensory activities are:
– playing with water or sand
– exploring the textures of different materials such as fur, feathers, or silk
– making music with drums, bells, or other percussion instruments
– exploring the sounds of different musical instruments.
-making sensory bottles like this one on this page.
Hope you and your kids love this!